
Understands border in CSS
The "border" property in CSS allows you to create a visible boundary or frame around HTML elements


In this introduction, we'll explore the basic syntax and properties used to create borders in CSS, demonstrating how to style them to match your web design needs. Whether you're a beginner looking to get started or an experienced developer seeking a refresher, this guide will help you harness the power of CSS borders to enhance your web projects. So, let's dive into the world of CSS borders and discover how they can elevate the aesthetics of your web content.
Border
Let's first review the basic box layout (content box, padding box and border-box)

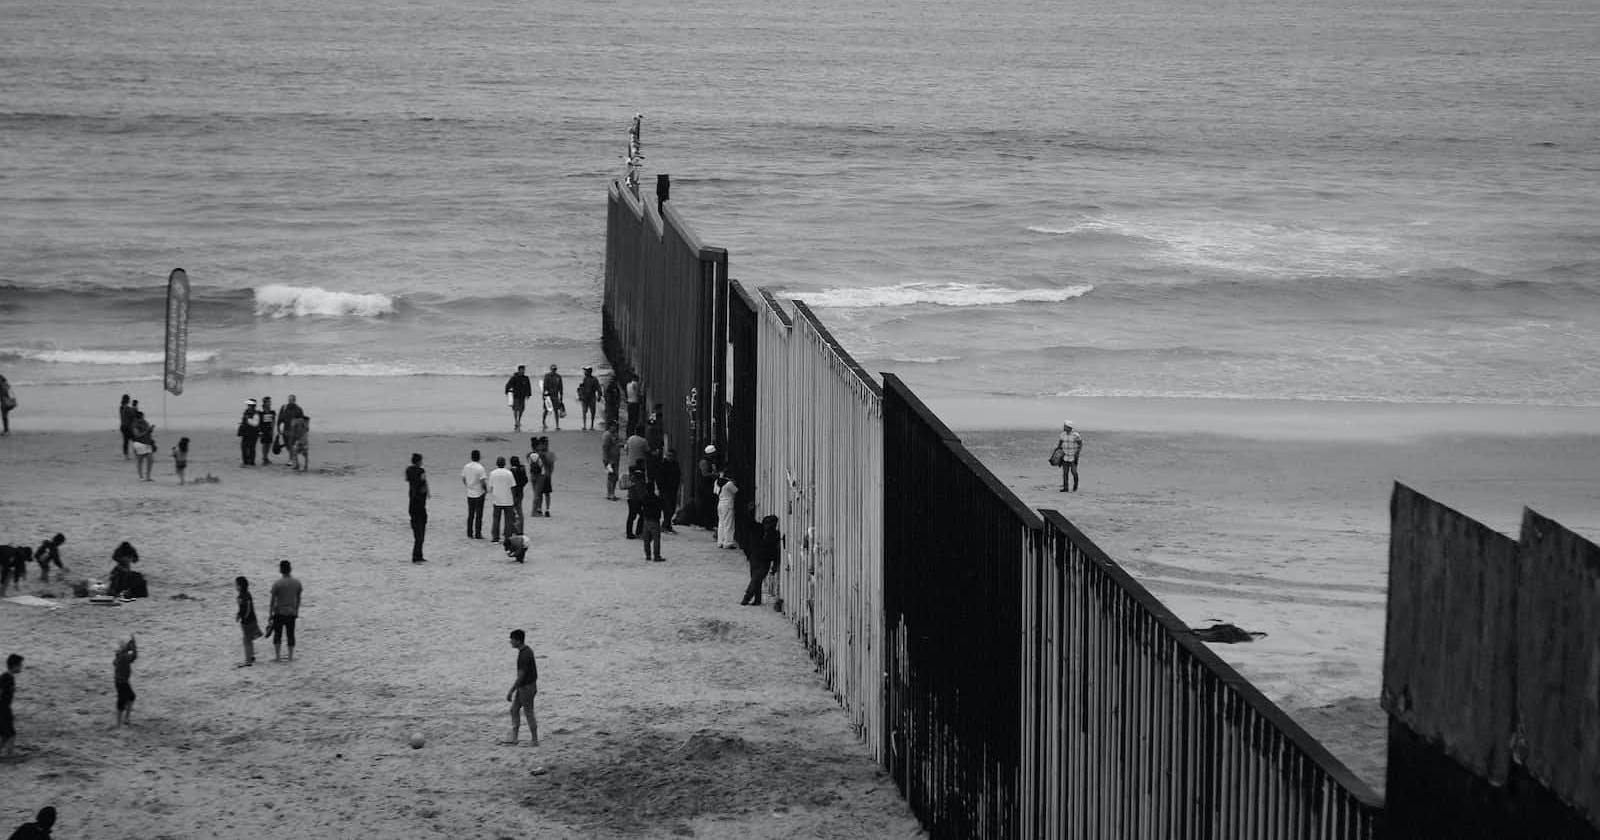
Real-life border?? So this is what we call a frame but the concept is the same
Content
Padding
Border
Within border, we can have
Border color
Border width
Border style

TOP-LEFT  TOP-RIGHT BOTTOM-LEFT BOTTOM-RIGHT
border-width:number;
border-color:color;
border-style:"dot" || "dashed" || "solid" || "double" || "groove" ||
"ridge" ;
border-radius:number;
/** Shortcut **/
border : width color style
border-widthThis component sets the width of the border. You can specify it using values like pixels (px), ems (em), percentages (%), or other valid CSS length units. Common values includethin,medium, andthick, but you can also use specific numeric values like1pxor2em.border-styleThis component defines the style of the border. It can take various values to create different border styles. Commonborder-stylevalues include:

border-colorThis component sets the color of the border. You can specify it using color values like hexadecimal codes (#RRGGBB), named colors (e.g., red, blue), RGB values (rgb(255, 0, 0)), or HSL values (hsl(0, 100%, 50%)).
How about? If I want to apply different border color to each of the size of the border
border-color: red green blue orange;
border-color: red green; ( top bottom ) (left-right)
border-color: red green blue; (top) (left-right) (bottom)
/** The easy way to remember it is follow the clock-wise direction **/

Or we can split it into each direction of the border and write it like this:
border-top:25px orange double;
/** or we can split it **/
border-top-width:25px;
border-top-color:orange;
border-top-style:double;
With the border property in CSS, we can create something that looks pretty cool
article {
  border-width:25px 20px;
  border-color:hsl(0,43%,64%);
  border-style:ridge double groove;
}

We also have the option to shut-down the border
button {
   border:none;
}

Circle-style corners
The border-radius property in CSS is used to round the corners of an element, creating a curved or rounded appearance instead of sharp corners. It's a useful property for adding a decorative or more visually appealing touch to various HTML elements like divs, buttons, or images.
/* All corners have a 80px radius */
border-radius: 80px;

When you provide a single value for border-radius, it applies the same curvature to all four corners of the element. The value you provide determines the radius of the circle or ellipse that defines the curved corner. The higher the value, the more pronounced the curvature.
/** we can also specify border-radius for 4 corners **/
border-top-left-radius : length;
border-top-right-radius : length;
border-bottom-left-radius : length;
border-bottom-right-radius : length;
/** Clock wise direction **/

/** Shortcut **/
border-radius : 20px 0px 10px 5px;
How does it all work?
Let's have an example to figure it all out. Assuming set the border-radius-top-left=50 with the container, what does it mean? It will set the horizontal and vertical for the top left with 50px

You can give every corner two values (so the maximum is 8 values), which is the radius in two directions (x and y)
Example
 <!-- How to cut is based on the smallest value between x and y
  If x > y ( it will choose y to go from top to bottom )
-->
 <style>
    .box {
      width: 400px;
      height: 400px;
      background-color: black;
      margin: 2rem auto;
      border-top-left-radius: 300px 100px;
      position: relative;
    }
    .box::before {
      content: "";
      width: 100%;
      height: 100%;
      position: absolute;
      z-index: -1;
      background-color: green;
    }
    .box::after {
      content: "";
      position: absolute;
      width: 300px;
      height: 100px;
      border: 1px solid red;
    }
  </style>
  <body>
    <div class="box"></div>
  </body>

  <style>
    .box {
      width: 400px;
      height: 400px;
      background-color: black;
      margin: 2rem auto;
      border-top-left-radius: 100px 300px;
      position: relative;
    }
    .box::before {
      content: "";
      width: 100%;
      height: 100%;
      position: absolute;
      z-index: -1;
      background-color: green;
    }
    .box::after {
      content: "";
      position: absolute;
      width: 100px;
      height: 300px;
      border: 1px solid red;
    }
  </style>

  <style>
    .box {
      width: 300px;
      height: 400px;
      background-color: black;
      margin: 2rem auto;
      border-top-left-radius: 100% 120%;
      position: relative;
    }
    .box::before {
      content: "";
      width: 100%;
      height: 100%;
      position: absolute;
      z-index: -1;
      background-color: green;
    }
    .box::after {
      content: "";
      position: absolute;
      width: 100%;
      height: 120%;
      border: 1px solid red;
    }
  </style>

Fully demonstrate with GIF

border-images
How can we add a fancy border?

If we want to apply a border design not offered by CSS, we have to use a border image
/** we have to define the border in CSS before using border-image **/
border : 5px orange solid;
border-image:url(url) slice;
/** And the slice is the size of the each slide that we cut the images
into 8 pieces , 4 pieces that will be used for the corner **/
When changing the slice, we can create a wide variety of border images

/** syntax **/
border-image: url(url) top right bottom left;
/** use **/
article {
border:70px solid transparent; /** border-width is important,the others isn't **/
border-image: url(elegant.png) 143 155 round;
}

But the width of the border is quite small; we can increase it
article{
  border-image: url(elegant.png) 143 155 /120px /40px round
}

A word on UX/UI for border-radius
As small of a detail as it sounds, how you round the corners in your design can have a big impact on the overall feel.
A small radius is pretty neutral and doesn't communicate much of a personality on its own
A large border-radius starts to feel more playful.

While a small border radius at all feels a lot more serious or formal,

Whatever you choose, it's important to stay consistent. Mixing square corners with rounded corners in the same interface almost always looks worse than sticking with one or the other
In this article, we explore the basics of creating and styling borders in CSS, covering properties such as border-width, border-color, border-style, and border-radius. We also discuss advanced techniques like border-images and the impact of border-radius on UX/UI design. Dive into the world of CSS borders and learn how to enhance your web projects with these essential styling techniques.